- Return to book
- Review this book
- About the author
- 介紹
- 1. 網際網路(Internet)是如何運作的?
- 2. 命令行(command-line)簡介
- 3. 安裝 Python
- 4. 初試 Python
- 5. 什麼是 Django?
- 6. 安裝 Django
- 7. 程式碼編輯器
- 8. 開始一個 Django 專案
- 9. Django models
- 10. Django ORM (Querysets)
- 11. Django admin
- 12. Deploy!
- 13. Django urls
- 14. Django views - time to create!
- 15. Introduction to HTML
- 16. Dynamic data in templates
- 17. Django templates
- 18. CSS - make it pretty
- 19. Template extending
- 20. Extend your application
- 21. Django Forms
- 22. Domain
- 23. What's next?
Django admin
To add, edit and delete posts we've just modeled, we will use Django admin.
Let's open the blog/admin.py file and replace its content with this:
from django.contrib import admin
from .models import Post

admin.site.register(Post)
As you can see, we import (include) the Post model defined in the previous chapter. To make our model visible on the admin page, we need to register the model with admin.site.register(Post).
OK, time to look at our Post model. Remember to run python manage.py runserver in the console to run the web server. Go to the browser and type the address:
http://127.0.0.1:8000/admin/
You will see a login page like this:
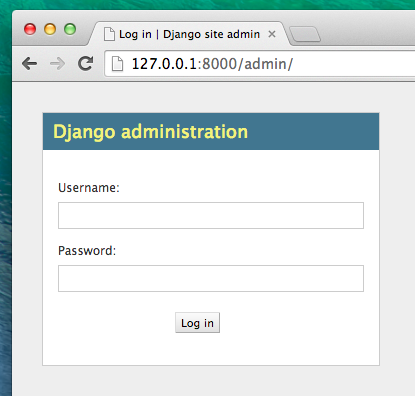
You should use the username and password you chose when you were creating a database (in the Starting Django project chapter). After logging in, you should see the Django admin dashboard.
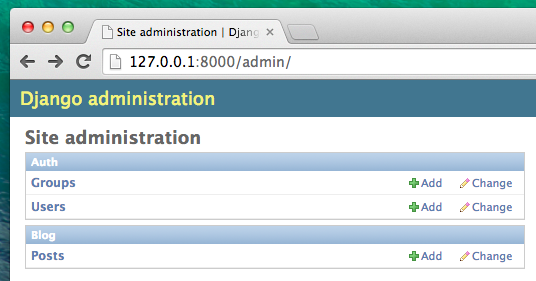
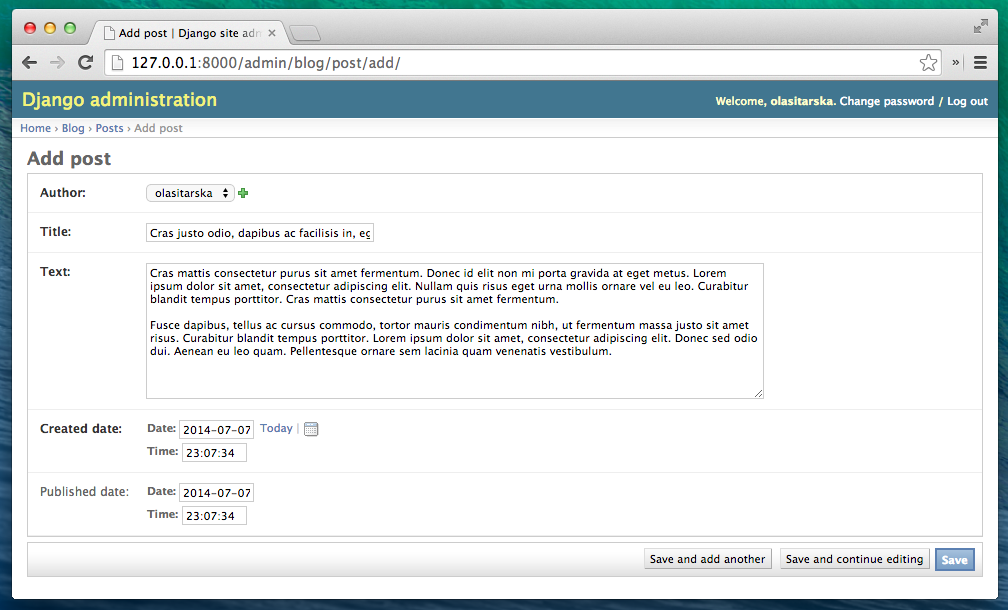
Go to Posts and experiment a little bit with it. Add five or six blog posts. Don't worry about the content - you can simply copy-paste some text from this tutorial as your posts' content to save time :).
Make sure that at least two or three posts (but not all) have the publish date set. It will be helpful later.
If you want to know more about Django admin, you should check Django's documentation: https://docs.djangoproject.com/en/1.6/ref/contrib/admin/
It is probably a good moment to grab a coffee (or tea) and eat something sweet. You created your first Django model - you deserve a little treat!