- Return to book
- Review this book
- About the author
- 介紹
- 1. 網際網路(Internet)是如何運作的?
- 2. 命令行(command-line)簡介
- 3. 安裝 Python
- 4. 初試 Python
- 5. 什麼是 Django?
- 6. 安裝 Django
- 7. 程式碼編輯器
- 8. 開始一個 Django 專案
- 9. Django models
- 10. Django ORM (Querysets)
- 11. Django admin
- 12. Deploy!
- 13. Django urls
- 14. Django views - time to create!
- 15. Introduction to HTML
- 16. Dynamic data in templates
- 17. Django templates
- 18. CSS - make it pretty
- 19. Template extending
- 20. Extend your application
- 21. Django Forms
- 22. Domain
- 23. What's next?
Django Forms
The final thing we want to do on our website is create a nice way to add and edit blog posts. Django's admin is cool, but it is rather hard to customize and make pretty. With forms we will have absolute power over our interface - we can do almost anything we can imagine!
The nice thing about Django forms is that we can either define one from scratch or create a ModelForm which will save the result of the form to the model.
This is exactly what we want to do: we will create a form for our Post model.
Like every important part of Django, forms have their own file: forms.py.
We need to create a file with this name in the blog directory.
blog
   └── forms.py
Ok, let's open it and type the following code:
from django import forms

from .models import Post

class PostForm(forms.ModelForm):

    class Meta:
        model = Post
        fields = ('title', 'text',)
We need to import Django forms first (from django import forms) and, obviously, our Post model (from .models import Post).
PostForm, as you probably suspect is the name of our form. We need to tell Django, that this form is a ModelForm (so Django will do some magic for us) - forms.ModelForm is responsible for that.
Next, we have class Meta, where we tell Django which model should be used to create this form (model = Post).
Finally, we can say which field(s) should end up in our form. In this scenario we want only title and text to be exposed - author should be the person who is currently logged in (you!) and created_date should be automatically set when we create a post (i.e in the code), right?
And that's it! All we need to do now is use the form in a view and display it in a template.
So once again we will create: a link to the page, a URL, a view and a template.
Link to a page with the form
It's time to open blog/templates/blog/base.html. We will add a link in div named page-header:
<a href="{% url 'blog.views.post_new' %}" class="top-menu"><span class="glyphicon glyphicon-plus"></span></a>
Note that we want to call our new view post_new.
After adding the line, your html file should now look like this:
{% load staticfiles %}
<html>
    <head>
        <title>Django Girls blog</title>
        <link rel="stylesheet" href="//maxcdn.bootstrapcdn.com/bootstrap/3.2.0/css/bootstrap.min.css">
        <link rel="stylesheet" href="//maxcdn.bootstrapcdn.com/bootstrap/3.2.0/css/bootstrap-theme.min.css">
        <script src="//maxcdn.bootstrapcdn.com/bootstrap/3.2.0/js/bootstrap.min.js"></script>
        <link href='http://fonts.googleapis.com/css?family=Lobster&subset=latin,latin-ext' rel='stylesheet' type='text/css'>
        <link rel="stylesheet" href="{% static 'css/blog.css' %}">
    </head>
    <body>
        <div class="page-header">
            <a href="{% url 'blog.views.post_new' %}" class="top-menu"><span class="glyphicon glyphicon-plus"></span></a>
            <h1><a href="/">Django Girls Blog</a></h1>
        </div>
        <div class="content">
            <div class="row">
                <div class="col-md-8">
                    {% block content %}
                    {% endblock %}
                </div>
            </div>
        </div>
    </body>
</html>
After saving and refreshing the page http://127.0.0.1:8000 you will obviously see a familiar NoReverseMatch error, right?
URL
We open blog/urls.py and add a line:
url(r'^post/new/$', views.post_new, name='post_new'),
And the final code will look like this:
from django.conf.urls import patterns, include, url
from . import views

urlpatterns = patterns('',
    url(r'^$', views.post_list),
    url(r'^post/(?P<pk>[0-9]+)/$', views.post_detail),
    url(r'^post/new/$', views.post_new, name='post_new'),
)
After refreshing the site, we see an AttributeError, since we don't have post_new view implemented. Let's add it right now.
post_new view
Time to open the blog/views.py file and add the following lines with the rest of the from rows:
from .forms import PostForm
and our view:
def post_new(request):
    form = PostForm()
    return render(request, 'blog/post_edit.html', {'form': form})
To create a new Post form, we need to call PostForm() and pass it to the template. We will go back to this view, but for now, let's create quickly a template for the form.
Template
We need to create a file post_edit.html in the blog/templates/blog directory. To make a form work we need several things:
- we have to display the form. We can do that for example with a simple
{{ form.as_p }}. - the line above needs to be wrapped with an HTML form tag: <
form method="POST">...</form> - we need a
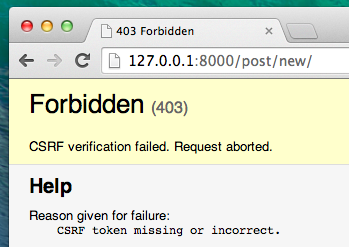
Savebutton. We do that with an HTML button:<button type="submit">Save</button> - and finally just after the opening
<form ...>tag we need to add{% csrf_token %}. This is very important, since it makes your forms secure! Django will complain if you forget about this bit if you try to save the form:
Ok, so let's see how the HTML in post_edit.html should look:
{% extends 'blog/base.html' %}

{% block content %}
    <h1>New post</h1>
    <form method="POST" class="post-form">{% csrf_token %}
        {{ form.as_p }}
        <button type="submit" class="save btn btn-default">Save</button>
    </form>
{% endblock %}
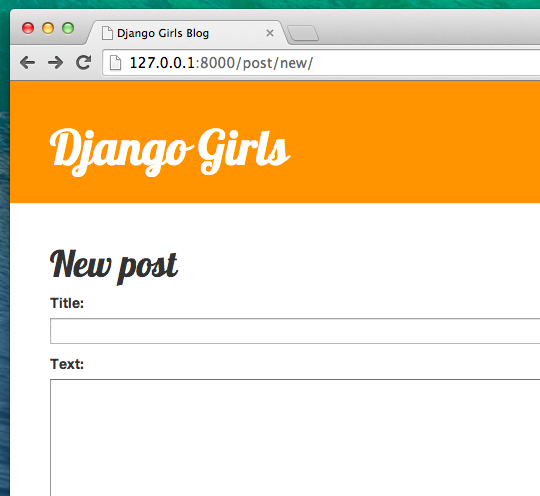
Time to refresh! Yay! Your form is displayed!
But, wait a minute! When you type something in title and text fields and try to save it - what will happen?
Nothing! We are once again on the same page and our text is gone... and no new post is added. So what went wrong?
The answer is: nothing. We need to do a little bit more work in our view.
Saving the form
Open blog/views.py once again. Currently all we have in post_new view is:
def post_new(request):
    form = PostForm()
    return render(request, 'blog/post_edit.html', {'form': form})
When we submit the form, we are back in the same view, but this time we have some more data in request, more specifically in request.POST. Remember that in HTML file our <form> definition had variable method="POST"? All the fields from the form are now in request.POST. You should not rename POST to anything else (the only other valid value for method is GET, but we have no time to explain what the difference is).
So in our view we have two separate situations to handle. First one: when we access the page for the first time and we want a blank form. Second one: when we go back to the view with all form's data we just typed. So we need to add a condition (we will use if for that).
if request.method == "POST":
    [...]
else:
    form = PostForm()
It's time to fill in the dots [...]. If method is POST then we want to construct the PostForm with data from the form, right? We will do that with:
form = PostForm(request.POST)
Easy! Next thing is to check if the form is correct (all required fields are set and no incorrect values will be saved). We do that with form.is_valid().
We check if the form is valid and if so, we can save it!
if form.is_valid():
    post = form.save(commit=False)
    post.author = request.user
    post.save()
Basically, we have two things here: we save the form with form.save and we add an author (since there was no author field in the PostForm and this field is required!). commit=False means that we don't want to save Post model yet - we want to add author first. Most of the time you will use form.save(), without commit=False, but in this case, we need to do that.
post.save() will preserve changes (adding author) and a new blog post is created!
Finally, it would be awesome if we can immediatelly go to post_detail page for newly created blog post, right? To do that we need more imports:
from django.core.urlresolvers import reverse
from django.shortcuts import redirect
Add them at the very beginning of your file. And now we can say: go to post_detail page for a newly created post.
return redirect('blog.views.post_detail', pk=post.pk)
blog.views.post_detail is the name of the view we want to go to. Remember that this view requires a pk variable? To pass it to the views we use pk=post.pk, where post is the newly created blog post!
Ok, we talked a lot, but we probably want to see what the whole view looks like now, right?
def post_new(request):
    if request.method == "POST":
        form = PostForm(request.POST)
        if form.is_valid():
            post = form.save(commit=False)
            post.author = request.user
            post.save()
            return redirect('blog.views.post_detail', pk=post.pk)
    else:
        form = PostForm()
    return render(request, 'blog/post_edit.html', {'form': form})
Let's see if it works. Go to the page http://127.0.0.1:8000/post/new/, add a title and text, save it... and voilà! The new blog post is added and we are redirected to post_detail page!
You problably have noticed that we are not setting publish date at all. We will introduce a publish button in Django Girls Tutorial: Extensions.
That is awesome!
Form validation
Now, we will show you how cool Django forms are. Blog post needs to have title and text fields. In our Post model we did not say (as opposed to published_date) that these fields are not required, so Django, by default, expects them to be set.
Try to save the form without title and text. Guess, what will happen!
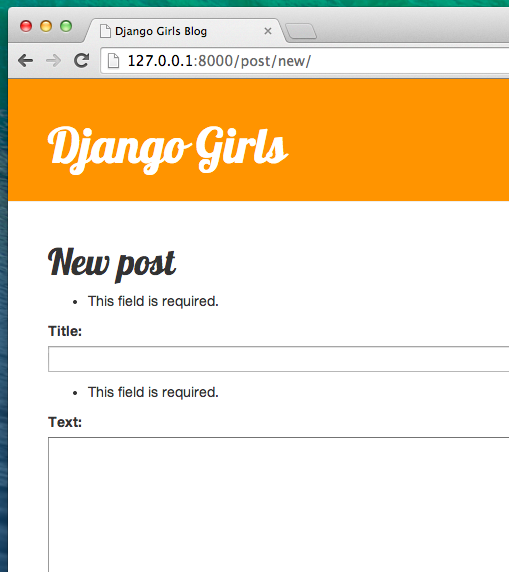
Django is taking care of validating that all the fields in our form are correct. Isn't it awesome?
As we have recently used the Django admin interface the system currently thinks we are logged in. There are a few situations that could lead to us being logged out (closing the browser, restarting the DB etc.). If you find that you are getting errors creating a post referring to a lack of a logged in user. Head to the admin page
http://127.0.0.1:8000/adminand login again. This will fix the issue temporarily. There is a permanent fix awaiting you in the Homework: add security to your website! chapter after the main tutorial.

Edit form
Now we know how to add a new form. But what if we want to edit an existing one? It is very similar to what we just did. Let's create some important things quickly (if you don't understand something - you should ask your coach or look at the previous chapters, since we covered all the steps already).
Open blog/post_detail.html and add this line:
<a class="btn btn-default" href="{% url 'post_edit' pk=post.pk %}"><span class="glyphicon glyphicon-pencil"></span></a>
so that the template will look like:
{% extends 'blog/base.html' %}

{% block content %}
    <div class="date">
    {% if post.published_date %}
        {{ post.published_date }}
    {% endif %}
    <a class="btn btn-default" href="{% url 'post_edit' pk=post.pk %}"><span class="glyphicon glyphicon-pencil"></span></a>
    </div>
    <h1>{{ post.title }}</h1>
    <p>{{ post.text }}</p>
{% endblock %}
In blog/urls.py we add this line:
url(r'^post/(?P<pk>[0-9]+)/edit/$', views.post_edit, name='post_edit'),
We will reuse the template blog/templates/blog/post_edit.html, so the last missing thing is a view.
Let's open a blog/views.py and add at the very end of the file:
def post_edit(request, pk):
    post = get_object_or_404(Post, pk=pk)
    if request.method == "POST":
        form = PostForm(request.POST, instance=post)
        if form.is_valid():
            post = form.save(commit=False)
            post.author = request.user
            post.save()
            return redirect('blog.views.post_detail', pk=post.pk)
    else:
        form = PostForm(instance=post)
    return render(request, 'blog/post_edit.html', {'form': form})
This looks almost exactly the same as our post_new view, right? But not entirely. First thing: we pass an extra pk parameter from urls. Next - we get the Post model we want to edit with get_object_or_404(Post, pk=pk) and then, when we create a form we pass this post as an instance both when we save the form:
form = PostForm(request.POST, instance=post)
and when we just opened a form with this post to edit:
form = PostForm(instance=post)
Ok, let's test if it works! Let's go to post_detail page. There should be an edit button in the top-right corner::
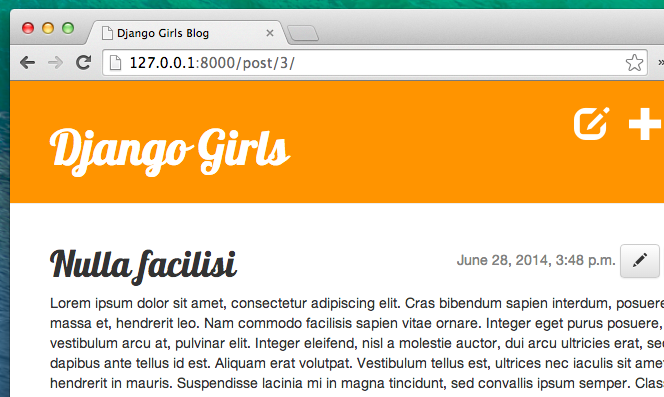
When you click it you will see the form with our blog post:
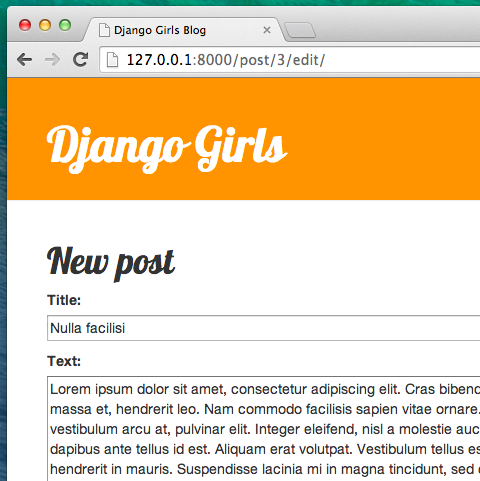
Feel free to change the title or the text and save changes!
Congratulations! Your application is more and more complete!
If you need more information about Django forms you should read the documentation: https://docs.djangoproject.com/en/1.6/topics/forms/
One more thing: deploy time!
It'd be good to see if your website will be still working on Heroku, right? Let's try deploying again. Open up your console and type this:
heroku push --app djangogirlsblog
: Remember to replace
djangogirlsblogwith the name of your application on Heroku.
And that should be it! Congrats :)